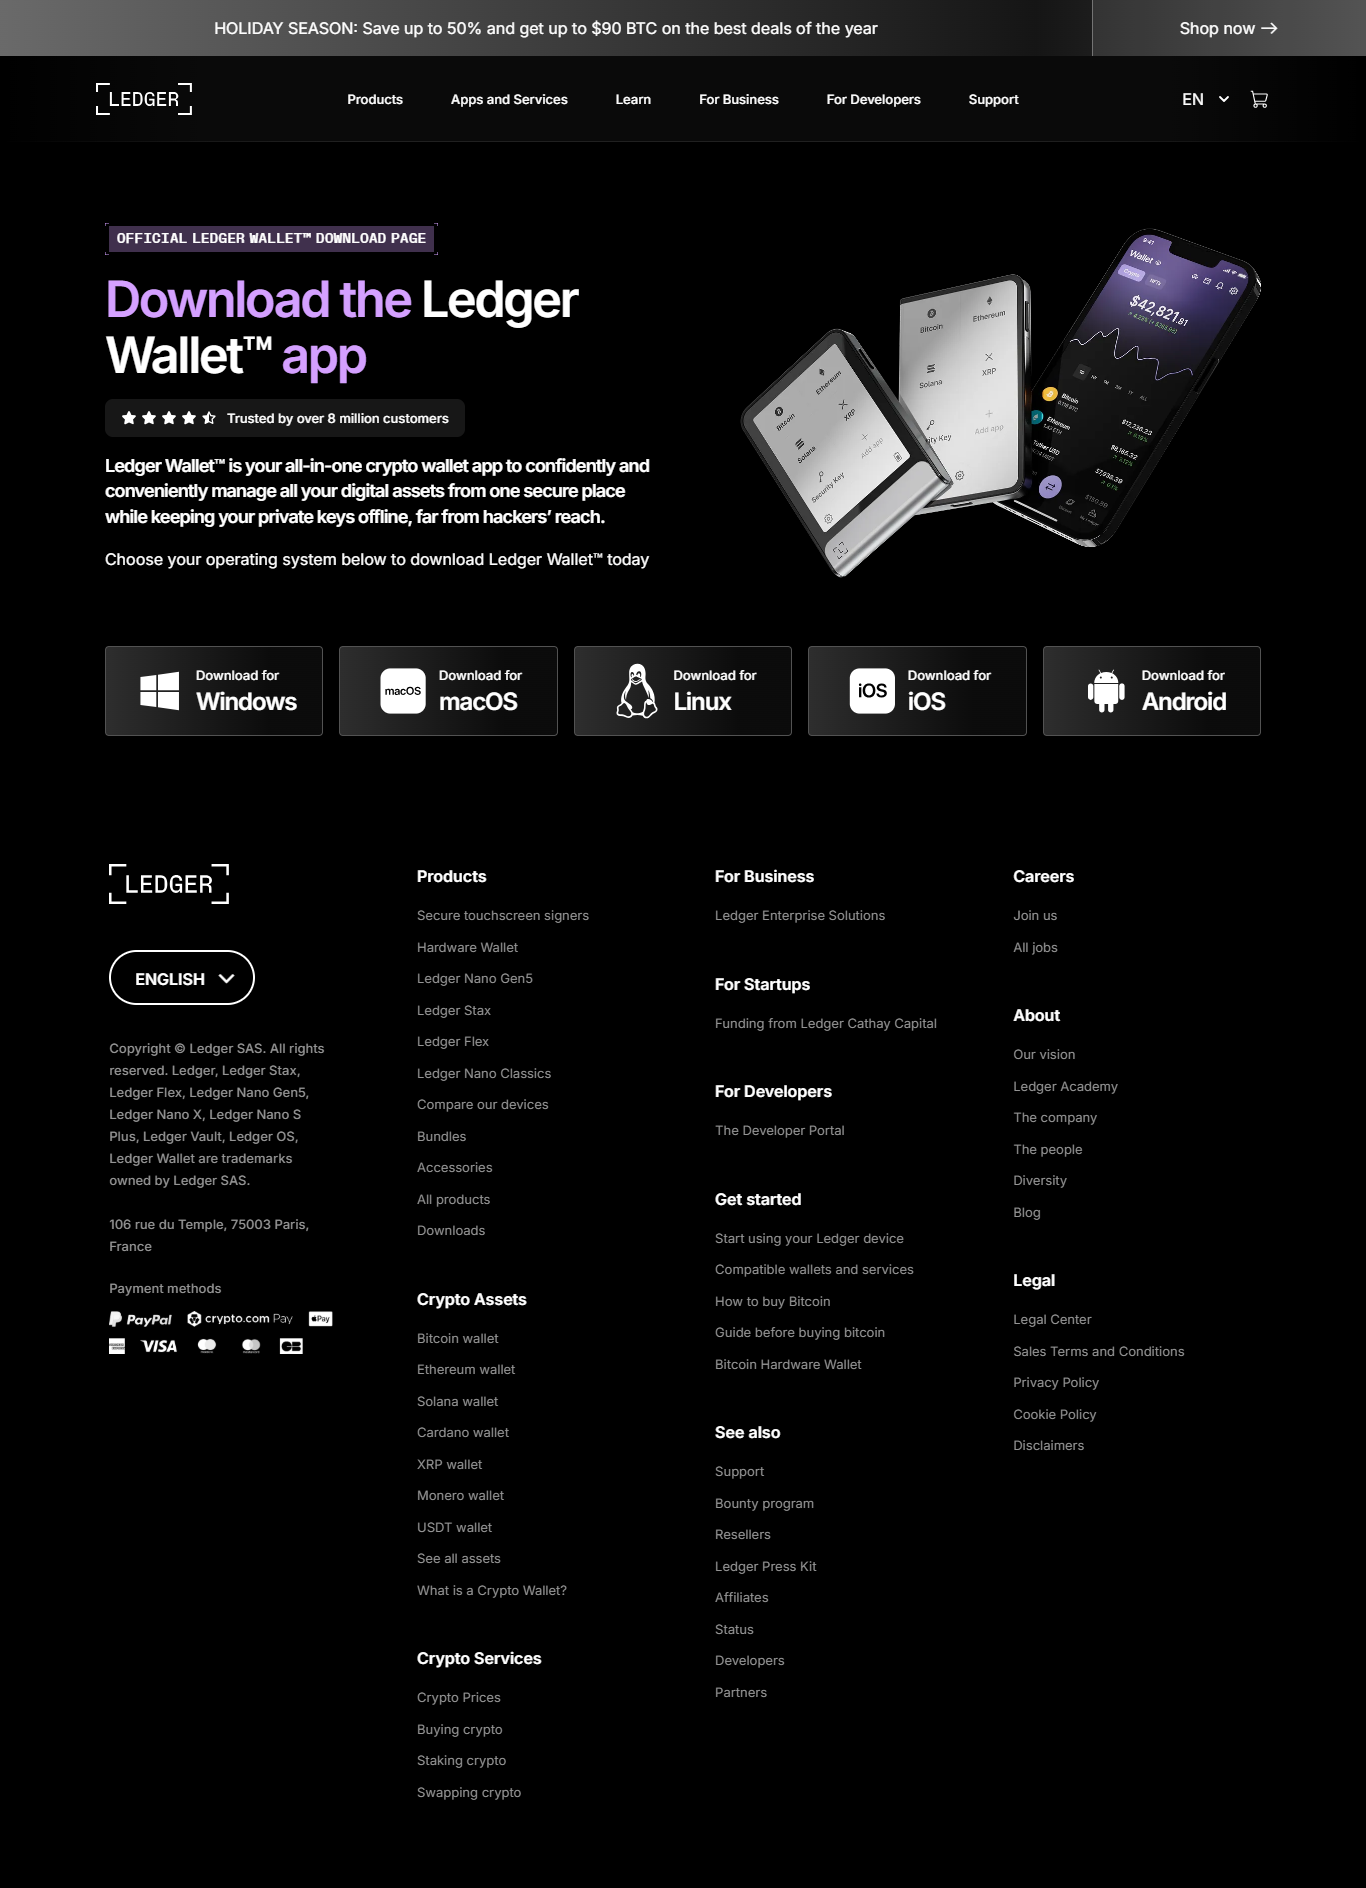
If you’ve just purchased a Ledger hardware wallet, Ledger.com/start is the official setup page you need to begin your journey toward crypto security. This trusted link guides users through the process of initializing their device, installing the Ledger Live app, and protecting their private keys safely offline.
Ledger is one of the most recognized names in cryptocurrency security. Its hardware wallets, including the Ledger Nano X and Ledger Nano S Plus, store private keys offline, ensuring your digital assets stay safe even if your computer or smartphone is compromised. Unlike software wallets, Ledger devices offer an added layer of physical protection.
Visiting Ledger.com/start is the first and most important step to securing your digital assets. With Ledger’s hardware wallets, you gain peace of mind knowing your cryptocurrencies are protected by industry-leading technology. Whether you’re a beginner or an experienced investor, setting up your wallet the right way ensures your crypto stays in your control—always.